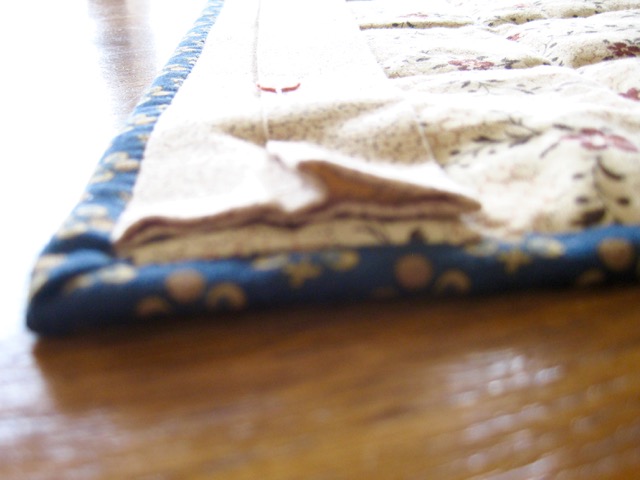
If you plan to use your quilt as wall hanger, one method is to hang it on rod fixed in the wall.
For this purpose, you will have to attach a hanging sleeve on the back of your quilt.
This tutorial will show you how to proceed to sew the sleeve and to attach it on the quilt back.
Cut a 5" large stripe of fabric. The length should be 1" less than your quilt.
Make a little hem on each side.
Fold your sleeve in two, lengthwise, and sew it before sewing your binding.
Sew you binding on the right side of your quilt and then hand sew it on the sleeve.
For the binding, you will find the explanations HERE and HERE.
Press and pin a little fold to allow the rod to have space.
Hand stitch the sleeve all along.
Take the pins away, your sleeve is ready.
Your quilt is ready to be hanged.


Thanky you for this tutorial Christine....i hope to use it on my Irish Circles soon.
ReplyDeleteYou must have read my mind lol. I want to hang my latest quilt and I've never done a sleeve before so you timed your tutorial perfectly for me. Thank. Pretty quilt with a GOORRGEOUS fabric for the back. ;^)
ReplyDeleteThanks a lot Chantal! I am so happy to be of help to you!
DeleteGreat tutorial Christine! I do like that you sewed it into the binding. I might have to try that!
ReplyDeleteI am confused. I don't understand the last part with the pins. Wouldn't there already be a pocket when the strip is sewn to the top of the quilt?
ReplyDeleteThe pocket would be flat and too thin for the rod and would stretch the quilt.
DeleteMerci pour ce tuto très bien fait, je comprends tout même si c'est en anglais, je pense qu'il va en aider plus d'une ! Et je vais refaire les miens !
ReplyDeleteBonne journée.